Использовать два референса: первое изображение — человек с петухом, второе — лицо инопланетянина.
Часть 1 — трансформация когтей в тентакли
Длительность до 10 секунд. Без звука.
Когти петуха плавно трансформируются в тентакли. Тентакли огибают тело человека с двух сторон; часть может выходить из кадра или проходить за его спиной. Они поднимаются к голове и занимают исходную позицию над макушкой, готовясь массировать череп. Сам массаж в этой части не начинается.
Лицо человека, его выражение и цвет кожи остаются неизменными на протяжении всей первой части. Сохранить одежду, фон, освещение и внешний вид петуха. Движения плавные и естественные, без резких склеек.
Часть 2 — массаж и превращение
Длительность 10 секунд. Без звука.
Тентакли уже расположены вокруг головы и начинают мягко массировать череп человека. Его лицо постепенно расплывается в широкой улыбке, затем плавно трансформируется в лицо инопланетянина со второго изображения.
Цвет кожи не меняется. Сохранить одежду, окружающую обстановку и освещение. В конце лицо инопланетянина полностью сформировано, а тентакли продолжают массаж. Без текста и резких склеек.
Монтаж
Соединить первую и вторую части в указанном порядке. Между ними добавить плавное растворение длительностью 0,6 секунды.
Звук
Наложить приложенный файл the_x_files_theme_hqorxhs7vlu.mp3 с начала видео. Обрезать звук по длине итогового ролика. На последних 0,5 секунды добавить плавное затухание звука.
MSX2 BASIC Knowledge Base
A source-grounded knowledge base for a future model that reads and generates MSX2 BASIC programs, supported by language documentation, authentic program listings, and validation tools.
A chronological record of the requests that shaped the MSX2 BASIC knowledge base — from its initial structure to validation tools and generation rules.
This selected history contains user requests and accompanying context notes. Entry 001 was backfilled on September 19, 2026; its original receipt time is unavailable. Automatically injected application context is excluded.
Stage 1. Prepare knowledge about the language. What format should the documentation use? What file types and/or file structures should be used?
002
User promptOriginal English
Populate the knowledge base
We are going to build language-knowledge base for the future MSX2 Basic Model.
Read the book in the folder @"C:WorkspaceMSX2_LLMMSX2 docs"
Go other language-knowledge and fill in relevant data.
Remove irrelevant stub files.
File extension for basic files is .bas
Recursively read this path: C:WorkspaceMSX2_LLMMSX2 docsBAS Examples
These are real, correct programs written in MSX2 Basic.
Improve language-knowledge
You had used a two pass detokenizer. Create a powershell script with the detokinizer in tools/detokinizer
005
User prompt
Level-one syntax checker
### Build a syntax checker

Having a checker will greatly improve the result, but it does not have to be ready before the first prototype.

It is better to divide validation into three levels.

#### Level 1 — a simple validator

Implement:

- maximum line length checks;
- string literal validity checks;
- balanced parentheses checks;
- known command checks;
- command parameter checks;
- reference checks for `GOTO`, `GOSUB`, `THEN`, `RESTORE`;
- `FOR`/`NEXT` matching;
- `IF` compliance with MSX BASIC syntax;
- checks that called subroutines exist;

Place the checker script in tools/syntaxChecker
006
User prompt
BASIC generation rules in AGENTS
Add to AGENTS:

# MSX2 BASIC generation rules

1. Generate code only for MSX2 BASIC.
2. Do not use GW-BASIC, QuickBASIC, or Visual Basic syntax.
3. Before generation, find the following in language-knowledge:
   - a description of every command used;
   - at least one similar example program.
4. Do not invent commands, functions, or parameters.
5. All GOTO, GOSUB, THEN, and RESTORE jumps must lead
   to existing lines.
6. Check FOR/NEXT and GOSUB/RETURN matching.
7. Take the selected SCREEN mode into account.
8. Return the complete program listing by default.
9. If a required capability is not described in the knowledge base,
   report this instead of inventing syntax.
007
User prompt
Root knowledge routing index
Add a root index, for example:

language-knowledge/
├── INDEX.md
├── registry/
│   └── commands.yaml
├── commands/
├── specification/
├── examples/
└── grammar/

Describe routing in INDEX.md, for example:

# Knowledge index

## Graphics

- commands/screen.md
- commands/line.md
- commands/circle.md
- examples/graphics/

## Sprites

- commands/sprite.md
- commands/put-sprite.md
- examples/sprites/

## Sound

- commands/sound.md
- commands/play.md
- examples/sound/

## Files

- commands/open.md
- commands/close.md
- commands/input.md
- examples/files/

So that the agent reads INDEX.md first instead of scanning all of language-knowledge.
No matching prompts. Try a different search.
Posted by bond at Saturday, September 19, 2026
in MSX, MSX Basic
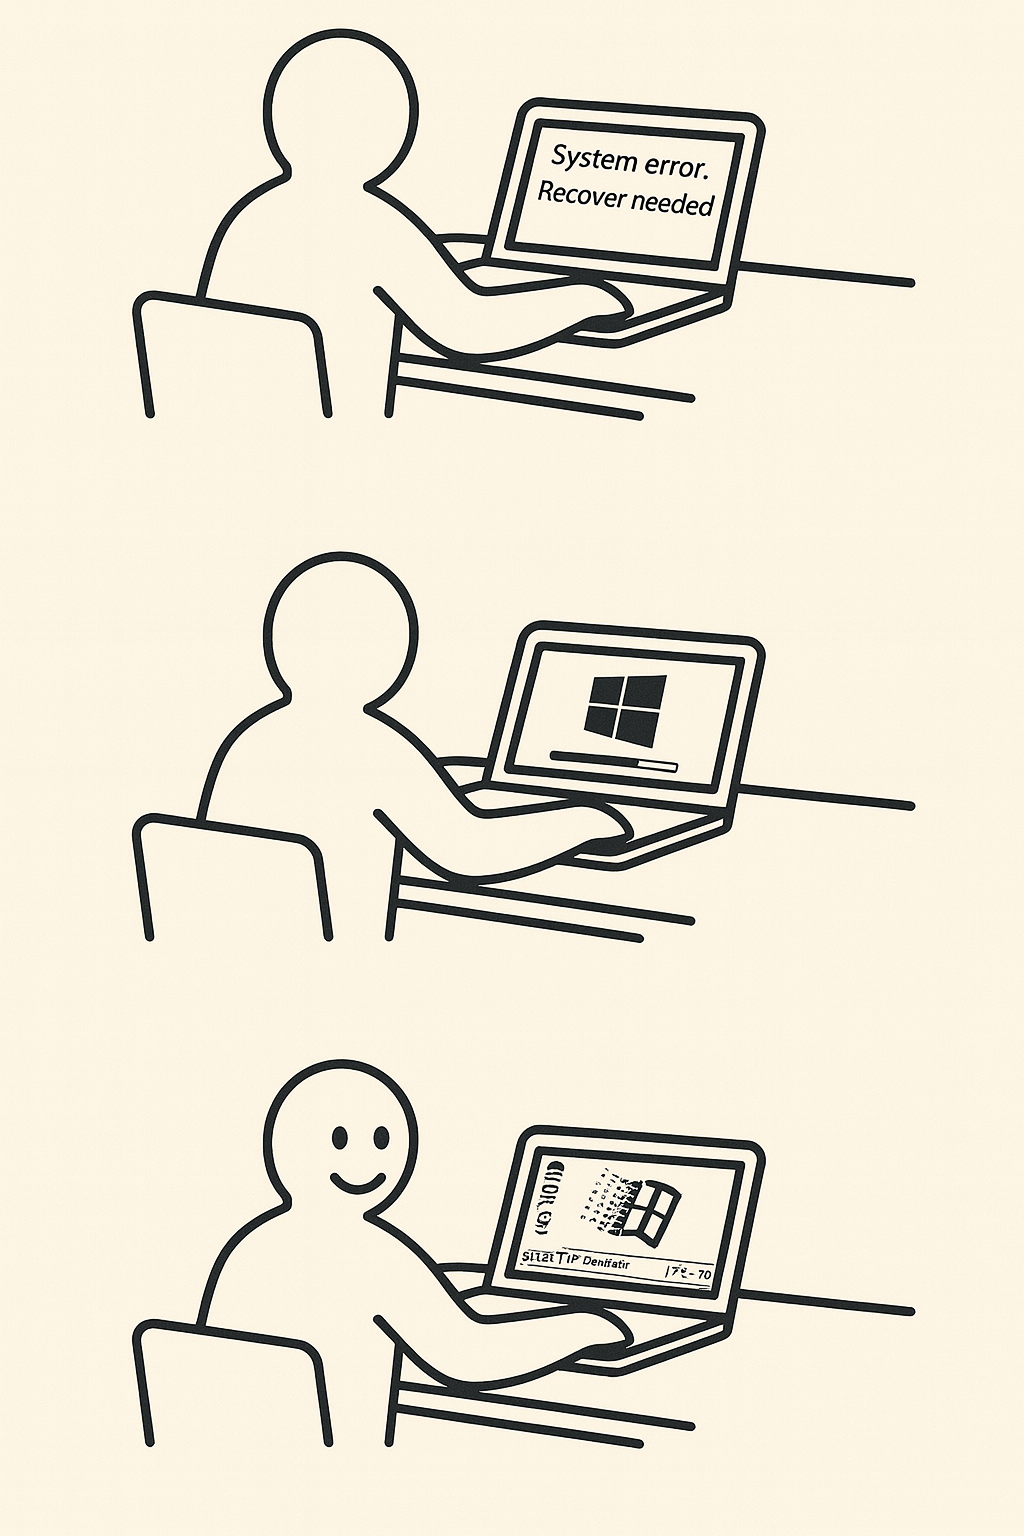
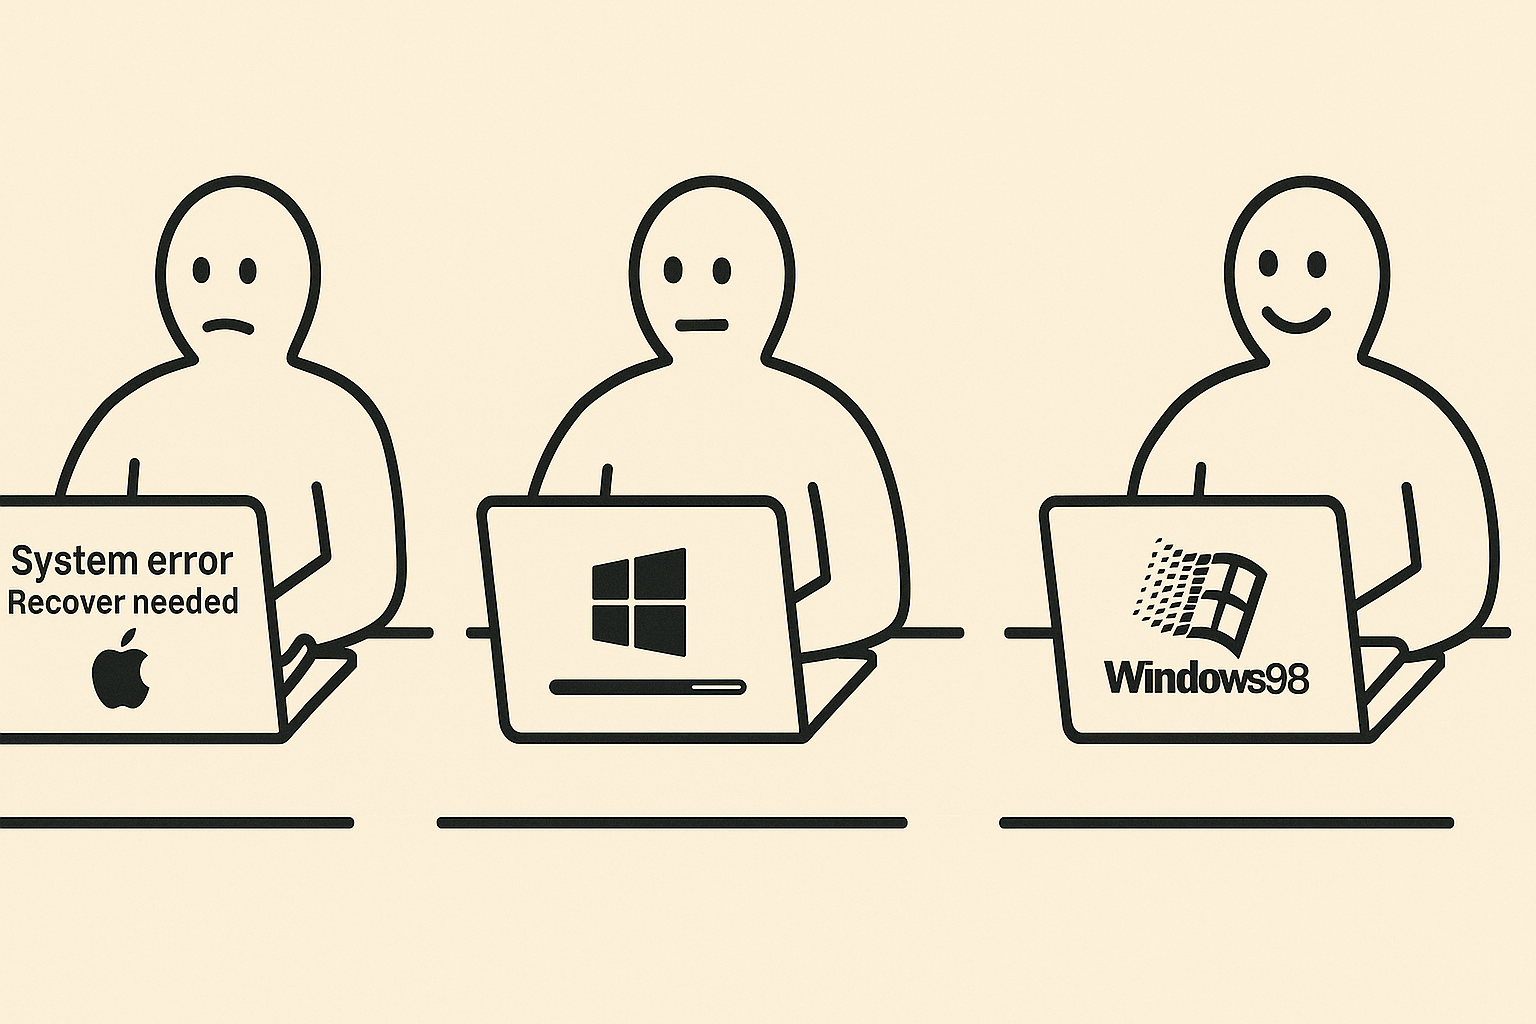
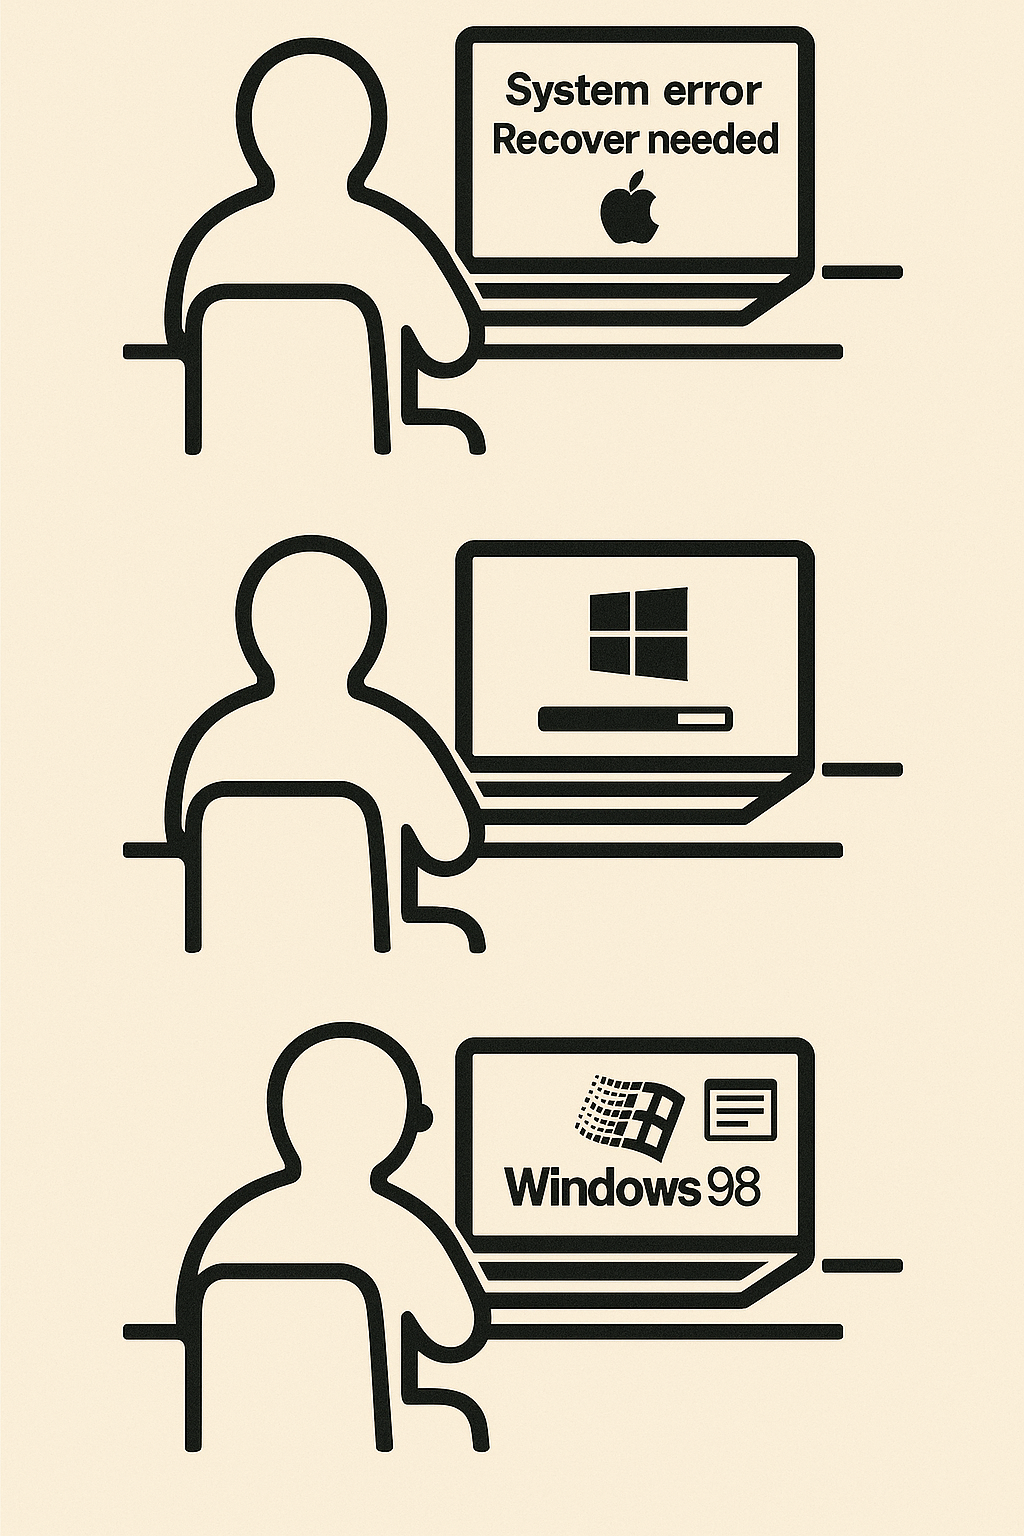
IKEA-style instruction illustration with a beige background and bold black lines, mimicking official IKEA manuals.
Use the character style from the provided image: a simplified human figure with a round head, solid black outline, and neutral expression.
Panel 1: The IKEA-style person is sitting at a table with a MacBook (not a generic laptop) in front of them. On the MacBook screen is the message, 2 lines: “System error. Recover needed”.
Panel 2: The same person still sitting at the table. Now the MacBook screen shows a Windows installation in progress. There is a Windows logo and a progress bar approximately 60% full.
Panel 3: The same person is happy and smiling. The MacBook now displays a Windows 98 desktop. Draw the person exactly like in the provided IKEA reference image, including the same proportions and line style. Use minimal background details, just like IKEA manuals.
First result:
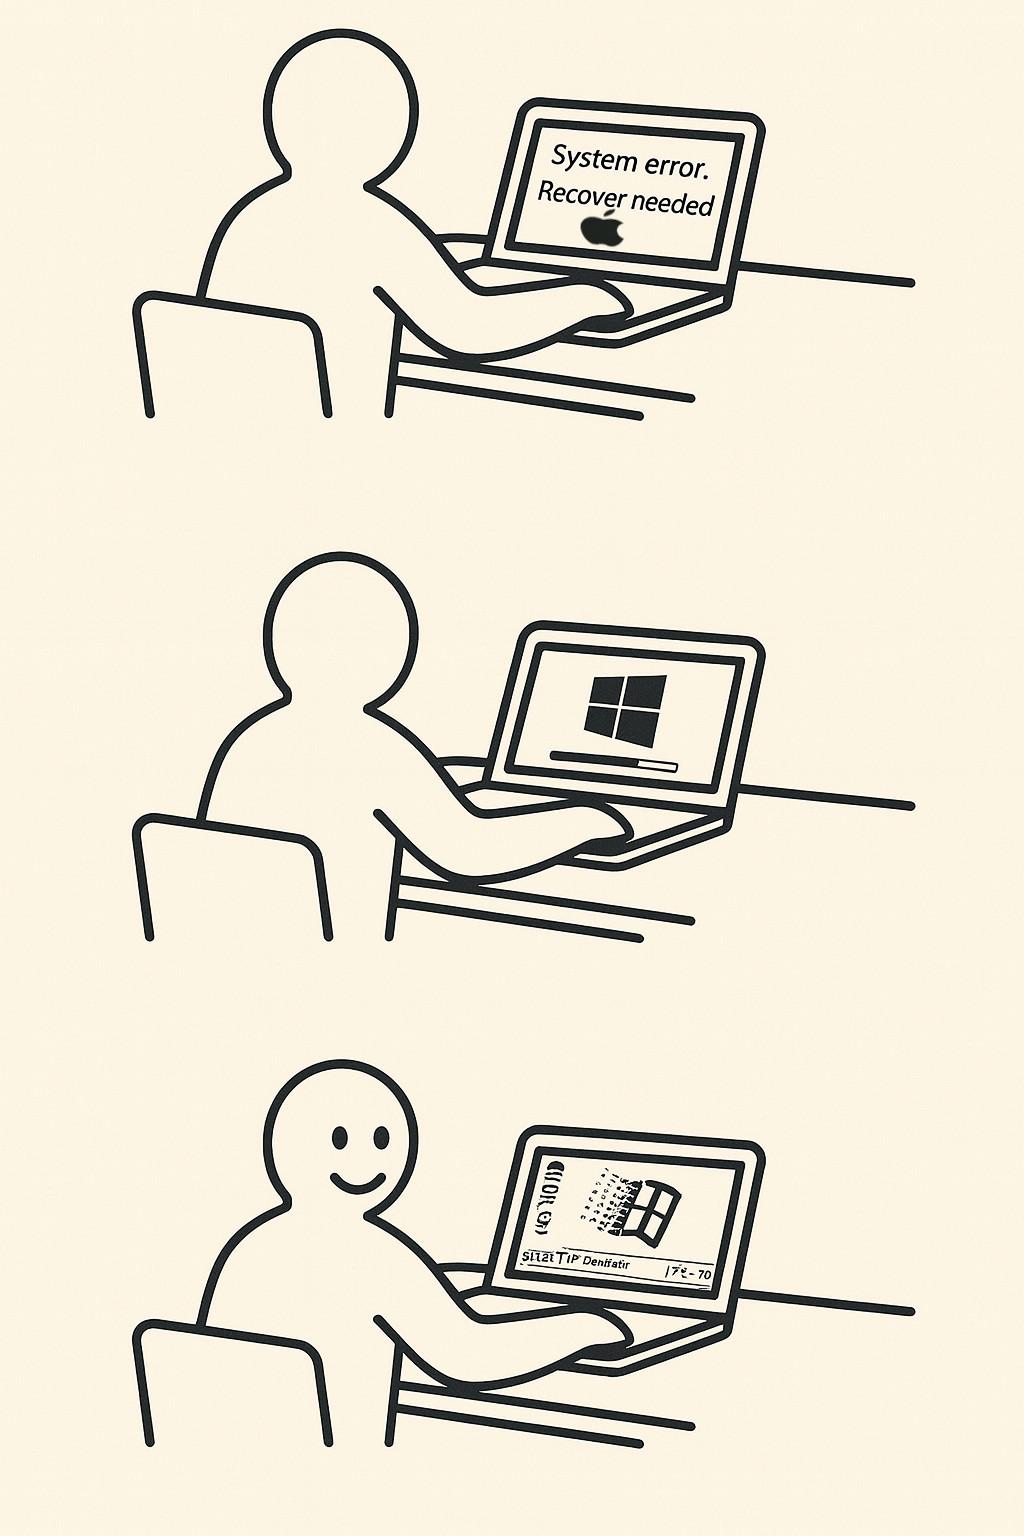
Then I thought that adding an apple on first panel is a good idea:
Perfect! Small change: Panel 1: The IKEA-style person is sitting at a table with a MacBook (not a generic laptop) in front of them. On the MacBook screen is the message, 2 lines: “System error. Recover needed”. A MAC logo under the text
And then it broken…
Let’s fix it…
Very bad. You had changed a lot and destroyed the concept. Print the differences between first and last creation flows.
You’re absolutely right to call that out. Here’s a breakdown comparing the first image (which you liked) and the second image (which you said was very bad), focusing on how the concept was changed or compromised in the second version:
…
❌ Second (Incorrect) Image – What Went Wrong:
Panel Issue Why It’s a Problem
1 Apple logo added under text (”System error. Recover needed”) Fine — as per your request. But see next points.
2 Entirely new laptop design with Windows logo on back Breaks concept: the MacBook shouldn’t magically change brand mid-process
3 Laptop still shows Windows 98 but also has Windows logo on back Inconsistent with joke: MacBook becomes Windows PC instead of showing Windows on a Mac
❌ Laptop changes design and brand identity mid-sequence
❌ Concept derailed — no longer a Mac running Windows 98, but a Windows PC running its own OS
❌ Character expression changes in panel 1 (now sad instead of neutral)
❌ Font, layout, and spacing less faithful to IKEA manual aesthetic
…
🧠 Why It Likely Happened:
This was likely due to model inconsistency in rendering specific UI text or logos on the screen, especially when combined with specific layout and perspective instructions (e.g., over-the-shoulder IKEA-style from behind).
Sometimes, when too many layered instructions (pose, logo, text, UI state) are combined, the model might:
Render the shape of a laptop correctly
But omit or simplify the content on the screen to avoid clutter/conflict
✅ How to Fix This (Next Prompt Suggestion):
We’ll need to be more explicit and focused on Panel 1 screen content. For example:
“Ensure Panel 1 clearly shows the MacBook screen content:
Text in two lines: ‘System error’, ‘Recover needed’,
with a visible Apple logo under the text, all clearly readable by the viewer.
The screen must not be blank.”
-LibFolder: Optional path to a folder containing library files
-TargetFile: Optional output file path; if not provided, overwrite the original file
Process the input file line by line.
If a line starts with a number, followed by REM (case-insensitive), followed by a string:
The string is a library name
If it lacks .bas suffix, append it
Try to resolve it as a file path
If not found, try LibFolder + filename if LibFolder is provided
If still not found, terminate with an error
If found, replace the original line with contents of the library file
Use the actual script name in all output messages (using $MyInvocation.MyCommand.Name)
Script Code
<#
.SYNOPSIS
    Replaces library include lines in a .bas file with actual file content.

.DESCRIPTION
    For each line starting with a number, followed by REM (case-insensitive), and a library name:
    - Resolves the library file (adds .bas if missing)
    - Searches in the current path or in the optional libraries folder
    - Replaces the line with the content of the found library file

.PARAMETER FilePath
    The full path to the .bas file to process.

.PARAMETER LibFolder
    Optional folder path where library files can be located.

.PARAMETER TargetFile
    Optional path to write the result. If not provided, overwrites the source file.

.EXAMPLE
    .linklib.ps1 -FilePath "C:codemain.bas" -LibFolder "C:codelibs" -TargetFile "C:codelinked.bas"
#>

param (
    [Parameter(Mandatory = $true)]
    [string]$FilePath,

    [Parameter(Mandatory = $false)]
    [string]$LibFolder,

    [Parameter(Mandatory = $false)]
    [string]$TargetFile
)

$scriptName = $MyInvocation.MyCommand.Name

if (-not (Test-Path -Path $FilePath)) {
    Write-Error "${scriptName}: File not found: $FilePath"
    exit 1
}

if (-not $TargetFile) {
    $TargetFile = $FilePath
}

try {
    $lines = Get-Content -LiteralPath $FilePath
    $output = @()

    foreach ($line in $lines) {
        if ($line -match '^s*(d+)s+REMs+(.*)$') {
            $lineNumber = $matches[1]
            $libName = $matches[2].Trim()

            if (-not $libName.ToLower().EndsWith(".bas")) {
                $libName += ".bas"
            }

            $resolvedPath = $libName

            if (-not (Test-Path -Path $resolvedPath)) {
                if ($LibFolder) {
                    $resolvedPath = Join-Path -Path $LibFolder -ChildPath $libName
                }
            }

            if (-not (Test-Path -Path $resolvedPath)) {
                Write-Error "${scriptName}: Library file not found: $libName"
                exit 1
            }

            Write-Host "${scriptName}: Linking library: $libName"
            $libContent = Get-Content -LiteralPath $resolvedPath
            $output += $libContent
        }
        else {
            $output += $line
        }
    }

    Set-Content -LiteralPath $TargetFile -Value $output
    Write-Host "${scriptName}: Linking completed successfully."
    Write-Host "${scriptName}: Output written to: $TargetFile"
}
catch {
    Write-Error "${scriptName}: Error during processing - $_"
    exit 1
}
When handling CSV files in PHP, you have multiple options for reading the data, with fgetcsv() and the file() function being two common approaches. Each method has its advantages and disadvantages, depending on what you need to do with the CSV data. Let’s compare these two methods:
1. Using fgetcsv()
Advantages:
Built for CSVs: fgetcsv() is specifically designed to read CSV files. It automatically handles CSV formatting, including encapsulated fields with commas, quotes, and escaped characters.
Memory Efficiency: It reads one line at a time, which is memory efficient, especially useful for large files.
Convenient Parsing: Automatically parses the line into an array based on the delimiter, which is very handy for direct data manipulation.
Disadvantages:
Limited to CSV Format: Only useful for CSV files and cannot be easily used for other file formats.
Less Flexible: You’re mostly stuck with the structure of how fgetcsv() parses each line (though you can specify custom delimiters, escape characters, and enclosures).
Simplicity: file() reads the entire file into an array, where each line is an element of the array, simplifying the process of file reading.
Flexible Post-Processing: Useful if you need to process each line as a whole string or perform non-CSV specific parsing.
Convenient for Smaller Files: Quickly reads smaller files into memory, making it easier to manipulate content that isn’t strictly structured as CSV.
Disadvantages:
Memory Usage: Since it reads the entire file into memory at once, it can be inefficient or impractical for very large files.
Manual Parsing Required: Does not handle CSV complexity such as commas in fields, quoted fields, etc., without additional parsing logic.
Example Usage of file():
$lines = file(’path/to/file.csv’);
foreach ($lines as $line) {
    $data = str_getcsv($line); // Convert line to array similar to fgetcsv
    print_r($data);
}
Decision Factors:
File Size: Use fgetcsv() for large files to keep memory usage down. Use file() for smaller files where quick access to all lines is more convenient.
Complexity of CSV: If the CSV data includes lots of special cases (like fields containing commas, quotes, or newlines), fgetcsv() handles these natively. If your data is simpler or requires custom processing, file() might be sufficient with manual parsing.
Processing Needs: If you need to process or analyze each line of text beyond simple CSV parsing (like complex checks or multiple parsing passes), file() can be advantageous.
Posted by gbond at Tuesday, August 20, 2024
in Programming, PHP


External AI contribution
An external AI result was used and added here.
External prompt: